No products in the cart.


DIY: Apron!
It was time for a new apron and I thought I would make it myself! I went to Joanne’s & Micheal’s and looked and looked until I found fabric that spoke to me. 🙂
Here is the idea laid out (nothing attached yet)

Materials I picked up:
- Basic black adult apron from Micheal’s.
- 2 yards of different fabric from Joanne’s. I chose one for decoration and one that will easily wash so I can wipe my hands on it while cooking. Don’t know if you can see it, but the pocket area has a hounds tooth design on it…very pretty 🙂
- Some silver glass pearls (50) from Micheal’s.
- Some vintage looking decorative garland pieces (jewel accessories) from Micheal’s.
- 1 yard of black felt ribbon from Joanne’s.
Materials I used from home:
- A slip from an old dress that I wore to the opera like 10 years ago…never going to wear again, so I cut it off!
- Black thread & needles.
- Glue gun & glue sticks.
Steps:
1. Lay out the apron and arrange your fabric as you envisioned it (I changed my mind on the design).

2. Cut your fabric, (leave about an inch or 1/2 inch around your fabric…just in case.
3. Fold the fabric in just a bit and pin to the apron in the area where you want to sew it. Sew or glue gun it along the edges.

4. Glue gun the felt ribbon on.

5. Glue gun the accessories on.

5. Glue gun the pearls (already on fishing line) to the apron. Hold in place as you glue underneath (I had an assistant, my 10 year old in her pink snuggie 🙂 ), then cut the fishing line flesh at the top. I ended up using cuticle cutters (which dulls them) but it did the job.


6. Then, to cover up the top edge (where the pearls end) I used extra felt from when I lined the apron. I just simply wrapped it along the trim, pearls and straps and glued it to the back!

7. Now for the giant hounds tooth pocket… cut it to the desired size.

8. Fold edges in like shown below. Sew or glue gun the edges folded over.

9. I sewed the bottom lace of the slip (back and front) together for more lace!

10. Then I cut the upper part of the slip off, leaving about an inch or two there.

11. I then glue gunned it to the back bottom edge of the apron. You could always make this part look more professional but with a baby in the house, I need to keep projects under an hour, lol.

That’s it, all done! Turn it around and enjoy!

*I plan on hand washing this only!
For more fun tips go to Event Makeup!
Related Articles

FashionLifestyle
How to Find Your Own Style Without Copying Everyone Online
Here’s the deal If you’ve ever searched how to find your own...

Fashion
How to Dress for Your Body Type: A Complete Guide
Fashion is not about following trends blindly; it’s about finding what makes...
FashionFeatured
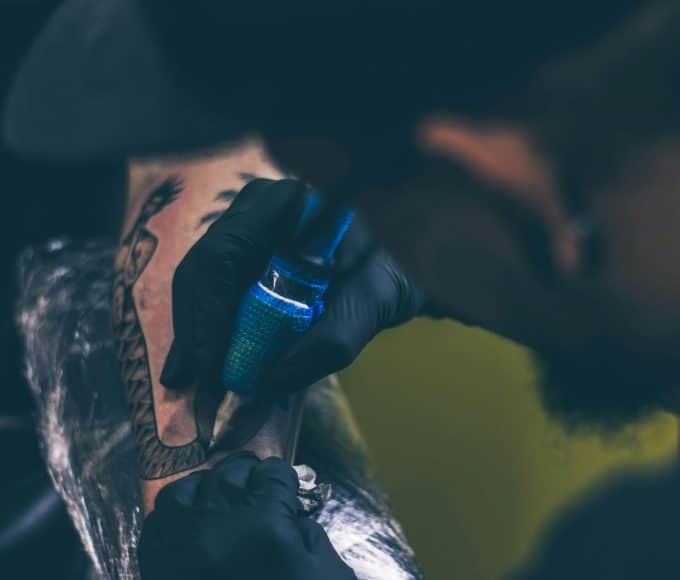
Things to Consider Before Getting a Tattoo
Getting a tattoo is an exciting experience for many, but it’s important...

FashionSeasonal
Dress to Impress: Halloween Costume Ideas For 2023
With each passing year, Halloween costumes become more diverse and exciting, as...